RV black water tank cleaning is not the most glamorous job in the world.
Many new RVers hesitate to jump into the process since it can seem confusing (and gross) at first.
Nonetheless, the reasons for cleaning the tank will outweigh how unpleasant it seems.
If you want to maintain a high-functioning water system and prevent odors from wafting into the RV living space, then keep reading.
You may be surprised to find that cleaning the RV black water tank can be a simple process, even for a beginner.
This guide will explain (in simple terms) what a black water tank is, why you should clean it and how often you need to get the dirty job done.
We will break the process down into easy steps and will lay out what materials you will need.
What Is a Black Water Tank?

The first step to RV black water tank cleaning is knowing what you are dealing with.
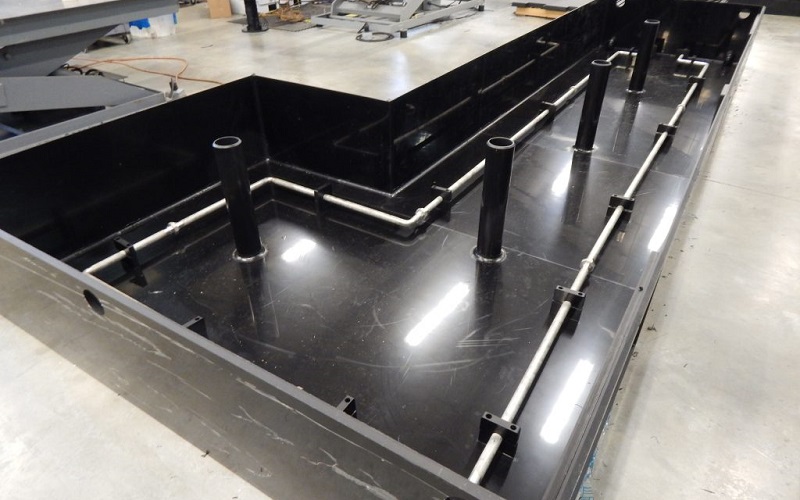
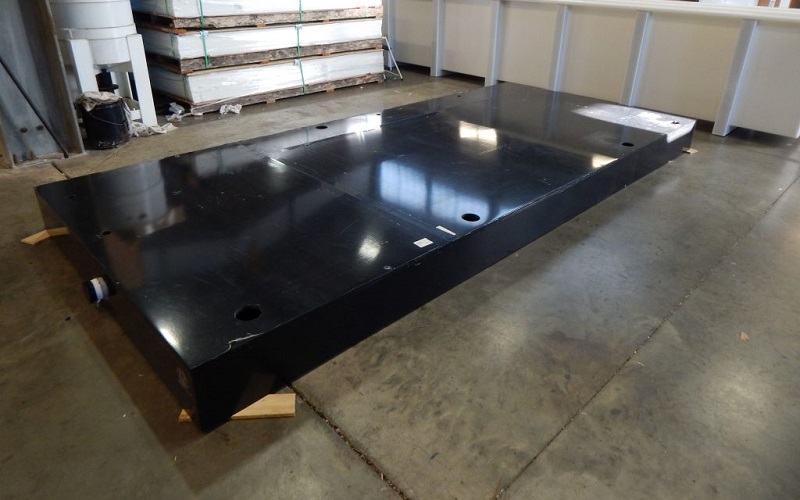
A black water tank is what it sounds like – a tank holding black water (it looks black, at least).
More specifically, it holds all of the waste, water, and toilet paper that you flush down the toilet.
The tanks are usually located underneath the RV carriage right beside the grey water tank, which holds all water from the shower and sinks.
Having a black water tank negates the need to use outdoor facilities at campsites and public rest stops. It gives you access to your very own private bathroom.
Since the black water tank is a tank, it does not need to be hooked up to anything until you dump it, making it very convenient for traveling.
Depending on the number of people in your RV, the tank will hold waste anywhere from a few days to over a week.
If you have one or two campers, you will most likely be dumping it every 7-10 days. If you have more than two, you might need to dump it a few times a week or even daily.
Why Do I Need To Clean It?
Since the black water tank holds waste, it will inevitably start to smell. Furthermore, human waste is full of bacteria (almost 100 billion bacteria per gram of stool).
If you neglect to clean it, the tank will be a breeding ground for harmful bacteria, and you won’t want to be near it when you open it.
Cleaning your tank will maintain an odor-free tank and area, preventing harmful bacteria from accumulating.
Furthermore, properly cleaning the tank will extend the wastewater system’s life and prevent costly repairs from fixing clogged drains. Maintaining proper RV black water tank cleaning habits will ensure years of use without replacing any equipment.
Apart from the most important reasons to clean the tank, there is one other thing to keep in mind. Your RVs blackwater tank has a dashboard meter.
This meter will show you how full the tank is and help you decide when to dump it. When you regularly take care of the tank and clean it properly, the dashboard meter will give more accurate readings.
So if you want to stay on top of the tank levels, cleaning the tank will be the first step.
How Often Should I Clean the Black Water Tank?

There are a few factors involved with RV black water tank cleaning.
You will be adding some chemicals to the tank at the start of every trip to prevent odors (which we will get into in a minute). The second aspect of cleaning will be a deep cleaning.
You should be deep cleaning your tank pretty regularly. I would recommend at least once a month, between camping trips or before you store the RV for the season.
You should also clean the tank if you notice that your blackwater tank dashboard meter is not giving accurate readings since this could be a sign of an unkept tank.
Furthermore, if you notice a stronger smell than usual, or if the tank has been sitting for a while, it will be time for a good cleaning.
How Do I Clean the Black Water Tank?
Now that we know all of the reasons for cleaning the tank, it is time to get to the good (and stinky) stuff.
If you are a beginner to the whole process, it can seem confusing at first when figuring out how to clean the tank. Not to worry – we will break it down into manageable steps for you.
Let’s get started.
What Materials Will I Need?
The first thing to know is what materials you will need for RV black water tank cleaning. Let’s take a look.
- RV black water tank treatment (these come in either liquid form or gel packets)
- Flush valve or tank cleaning wand
It is worth noting that if your RV already has a built-in flushing system, you will not need to purchase a flush valve or a tank cleaning wand.
If your RV does not have a flushing system, then you will need to purchase a flush valve or a tank cleaning wand (you do not have to buy both products, just one or the other).
Daily Cleaning
You will not be cleaning the tank daily yourself. The chemicals will do that for you.
This is where the RV black water tank treatment will come in – these chemicals will provide your tank’s daily maintenance by preventing odors.
The other main thing they do is break down solid materials such as waste and toilet paper to prevent clogging.
When you buy the black water tank treatment of your choice, simply add a dose of the treatment to about a gallon of water. Then you will pour the mixture down the drain into the black water tank.
Since all tank treatments are not the same, make sure to read the instructions carefully before mixing them with water.
Deep Cleaning
Now that you have done the first step of RV black water tank cleaning, the next thing you will have to do is deep clean the tank.
As mentioned before, you should be deep cleaning the tank every month or before and after a camping trip.
Deep cleaning the tank will take a bit more effort than pouring a treatment down the drain. The first thing you should do is flush your toilet a few times.
Then you will use a soapy water solution. In the solution, put in laundry soap or dish soap and some bleach (about one quart). You should let the mixture sit for an hour.
The next thing you will do if you have a flush valve is to connect the gray water line to the flush valve.
The flush valve will shoot a strong stream of water into the black water tank to clean the walls and tank to eliminate any leftover residue.
Ensure that the main drain is open when you are cleaning the drain hose, pipe, and valve.
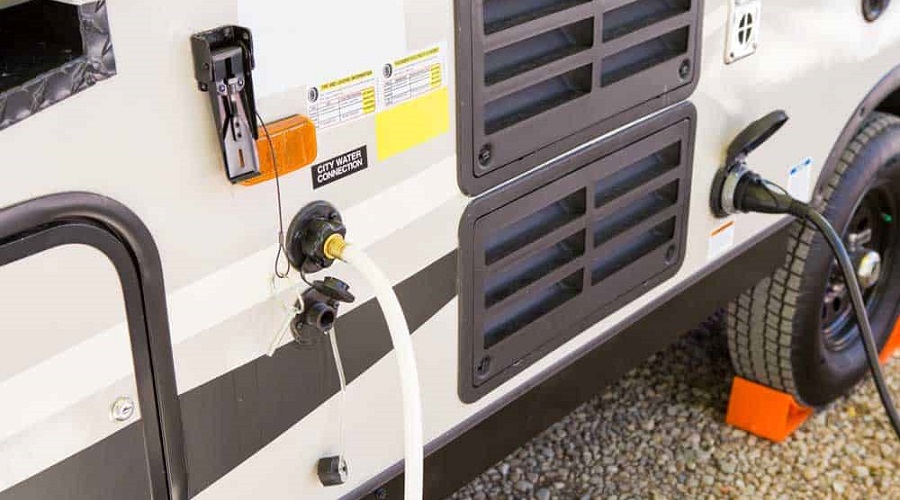
If you are using a tank cleaning wand, it will connect to an outside water hose. Stick the wand in your toilet and turn on the hose.
This will spray the inside of the tank with high-force water to give it a good deep clean. Keep the hose on for about 15 minutes.
Make sure to leave the dump valve open through the cleaning process so the flushed water can drain through the black tank valve.
Even if your RV already has a built-in flush system, it might be worth it to purchase a flush valve or a cleaning wand.
Keep an eye on how well the built-in system does, and invest in additional products if the system is not doing a good enough job.
Use Water Softener To Prevent Clogging
Using a water softener is optional and is not required to correctly set the tank up for a trip. However, it can work wonders.
When you add a water softener, it will help to clean the walls of the tank.
A lot of times, waste and gunk will stick to the walls of your tank. Water softener breaks down the waste more easily and prevents any gunk from sticking to the walls.
If you want to use a water softener, dissolve two cups in one gallon of hot water. Then you will pour the mixture into the black water tank. Then, you will use the tank normally until it is full.
When it is time to empty the tank, you will be surprised at how much waste the softener will pick up and clean out of the tank.
Conclusion
RV black water tank cleaning is not as complicated as it seems.
At the start of every trip, make sure to use an RV black water tank treatment to maintain daily sanitation and break down solid materials. Secondly, deep clean the tank at least once a month.
If your RV does not have a built-in flush system, purchase a tank cleaning wand or a flush valve.
There are a few reasons you should be deep cleaning the tank regularly.
Cleaning the tank will prevent odor, extend the wastewater system’s life, prevent expensive repair bills, and help the black water tank meter give accurate level readings.
Resources:


