Whether you’re at home or touring the country in your RV, having access to clean water is a basic need. When we’re not in our RVs, it can be easy to take this clean water for granted, but it takes a little more effort to achieve when you’re living in a camper.
An RV’s water tank is your go-to water supply and you use it for everything from drinking to washing your hands. Therefore, making sure it’s clean and hygienic is a top priority for an RV owner and something that needs to be taken seriously.
How to sanitize RV water tank then?
To keep your drinking and washing water clean, you should aim to sanitize the tank every six months, regardless of how much it’s been used. To do this, you should drain the tank to the desired level, fill it with a bleach and water mixture, and then leave it to sit so that it sanitizes before emptying it and replacing it with clean water.
Although the process might seem time-consuming, it’s a non-negotiable when it comes to water, as you don’t want to run the risks of drinking and bathing in unclean water. This guide was designed to make the job easier and show you why it’s so important to keep your RV tank water clean and sanitized at all times.
When Should You Clean Your RV’s Water Tank?
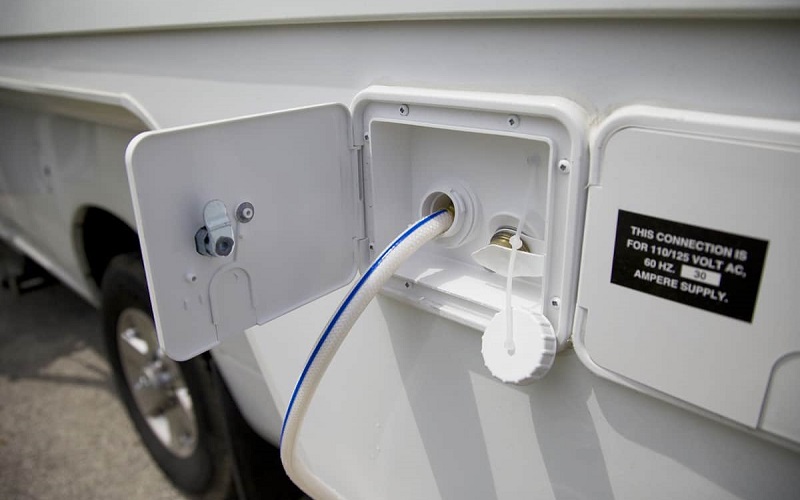
The freshwater tank of an RV is an essential part, and without it, we’d struggle to do everyday activities like take a shower or have a glass of water when we’re parched. However, the freshwater tank’s location can make cleaning them unenviable, with most located underneath the chassis, or in some European models, above it.
Regardless of how hard the job is, you need to give it a full sanitizing clean once every six months. This could be more frequent depending on how much you’ve been using it, but should never be less, even if your RV has been in storage the entire time and the tank has been kept empty.
You don’t need to clean a water tank regularly unless the water has an off smell or taste and you think it’s time, but it should be sanitized twice a year. Keeping up with this regular schedule means less ongoing cleaning in between and gives you access to fresh, clean drinking and bathing water as you need it.
Supplies and Tools Needing For the Job
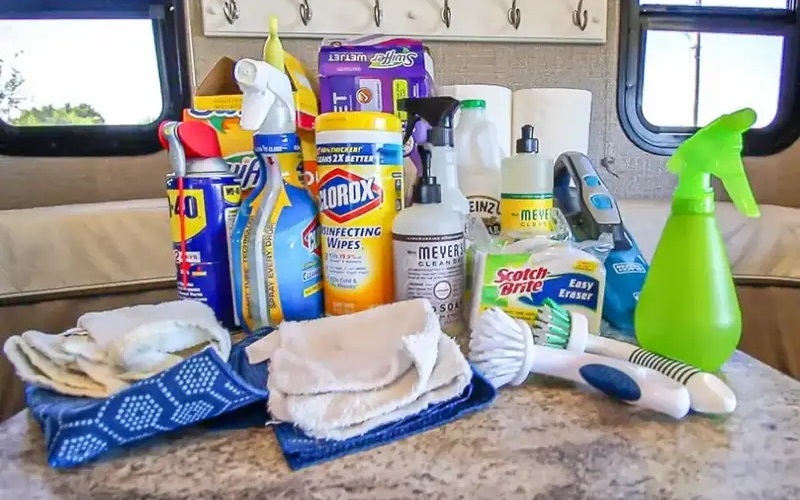
To keep your water tank clean requires very little in the way of tools and supplies, and it’s a job that can be done in less than 24 hours. These are the main things you’ll need to get started:
- External water filter
- Internal water filter
- Flexible hose and stopper
- Funnel
- Cleaning agent
Next, you’ll have to decide on what chemicals to use as a cleaning agent. Depending on what you feel comfortable sanitizing the water tank with, these are the best choices:
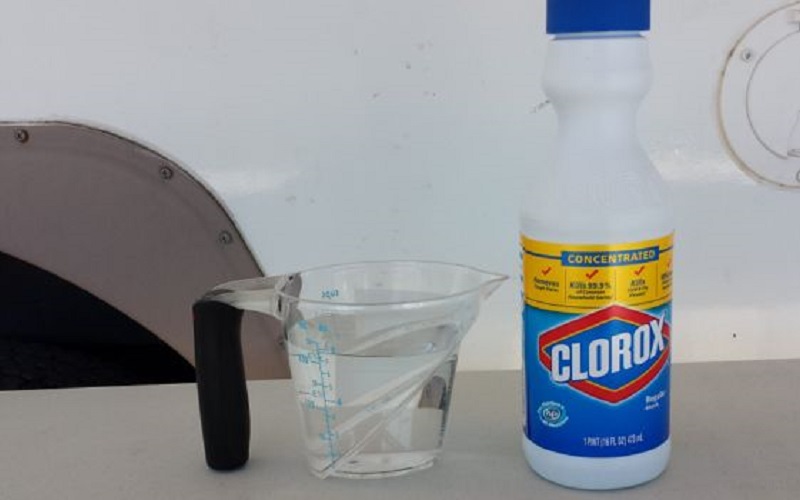
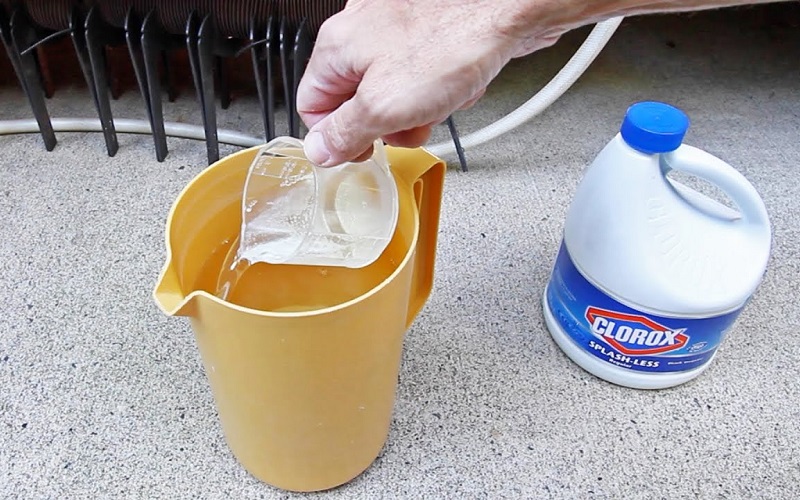
- Bleach: Depending on the size tank you have, you’ll be able to mix bleach with water and fill the tank with it. This is the easiest and cheapest option that guarantees full sanitization. A ¼ cup of bleach is sufficient for every 16 gallons of water that your tank can hold. Make a diluted mixture first and don’t add the bleach directly to the tank.
- Baking soda and vinegar: For those who’d rather not put a bleach mixture in their water tank, you can try baking soda and vinegar instead. Although less harsh, it also isn’t as capable of sanitizing, so shouldn’t be used as the primary cleaner for every time you do the job.
- Store-bought cleaners: If you’d prefer to use a specially formulated freshwater tank cleaner, you can purchase this instead. These are made for RV water tanks and have the right mixture of chemicals needed to do the job, and take the guesswork out of how much is needed for what size tank.
How to Clean and Sanitize an RV Water Tank
Cleaning and sanitizing the freshwater tank of your RV is a job that needs some planning. The best time to do this is in between trips, as you’ll have to empty the tank completely and leave a sanitizing solution in it for a day before flushing it out. With all of the supplies at the ready, these are the steps to follow.
- Turn the water heater of the tank off before starting the process, and give the water and tank time to cool down.
- Drain the existing water in the freshwater tank out completely.
- Pour in the diluted bleach and water mixture, or the commercial tank cleaner, into the tank with around a gallon of water already inside. Use a large funnel if needed.
- Have a supply of clean, portable water, and start filling up the fresh water tank with it. Fill it to the top and then cut off the supply.
- Go around to the tank and all of the faucets and connections in your water tank and turn them on. This will enable the sanitizing solution to make its way through the water mains and clean everything. Once the water has been circulated through all parts, turn off the faucets.
- Leave the bleach solution to sit in the water tank for between 12 to 24 hours. This step is imperative as it can take a while for the process to occur.
- Once the wait is over, drain the entirety of the tank out so there’s no more water left inside.
- Fill the tank once more with your clean, portable water source and allow it to recirculate through the system. Turn the faucets on again and flush out the old solution with fresh water. This can take a few minutes to get rid of the chemical smell, and may even require three or four tries to get the water clean.
- Go through the RV and replace any water filters you have in place with clean ones.
Tips to Follow for a Hygienic Water Supply
Clean water is key, and it’s especially important when you’re living out on the road with only an RV to call home. To ensure you’re drinking and bathing with the freshest water possible while enjoying your RV, check out these tips.
- How you fill the tank can be just as important as the water you fill it with. Sometimes, the hose itself is responsible for the funny smell or taste that these freshwater tanks get, so it’s worth investing in a new one just for this purpose. Avoid using garden hoses to fill a tank as they often develop a unique taste after years of sun exposure and use.
- Aim to clean the tank once it’s come out of storage, or if you’re using it continuously, aim for around spring to do the job. This is the ideal temperature and weather for such a process.
- Never combine ingredients yourself to try and create a cleaning agent. Vinegar and bleach can be useful on their own but should never be combined as they create a toxic gas.
- If you notice a smell of plastic or chemical in your drinking water, go ahead with sanitizing the entire system. Even if it’s not time to do the job, this can be an indication that there’s something wrong with the freshwater supply.
Related Questions
The water tank of an RV or motor-home is one of its most integral parts, and without it, we lose access to most of our basic hygienic practices. As well as knowing how to sanitize a freshwater tank, there are other skills to learn about tanks in RVs, so check out the answers to some of these commonly asked questions.
What Is A Black Water Tank?
In an RV, there are three common tanks in use, a freshwater, greywater, and black water. The black water tank is another name for the sewage, and this is where the output from the toilet usually heads to. When it’s full or you’re ready to depart, you can empty the black water tank using the correct procedure highlighted by the manufacturer.
How Many Gallons of Water Does an RV Tank Hold?
To determine how many gallons your RV’s water tank holds, you can usually judge this by the vehicle’s class, or by reading the manual that came with your vehicle. A class A RV holds between 75 to 100 gallons and is the largest, where a Class B RV can only hold between 20 to 40 gallons of fresh water.
Resources:

