Whether you like the luxury of reading a book at night with a lamp or listening to some music during the day while you’re out in your RV, you’ll need a reliable power supply to do it.
One of the easiest and cheapest ways to do this is with an isolator and a deep cycle battery working together, but not everyone understands the value of this key ingredient.
So, what is the battery isolator in an RV for?
An RV battery isolator is what connects your auxiliary or secondary battery to the vehicle itself and allows for it to get topped up while you drive.
Having one of these and a deep cycle battery is all you need to survive when you’re off the grid, and any smart camper will always have them at the ready.
If you’re confused about the roles of batteries, isolators, and alternators when it comes to running and powering up your RV, have no fear.
We’re here to break it down into simple terms and show you the importance of having an alternator if you own an RV, even if it’s just for the peace of mind that access to a backup power supply can bring.
The Role of An RV Battery Isolator
When you’re checking off a list of RV essentials, an rv battery isolator might not be one of the first things that pop to your mind, even when you’re looking at your batteries and power supply.
However, a battery isolator is crucial if you want to keep a full battery charged up and ready to use, and it’s low fuss with a big payoff.
In every vehicle, including your beloved RV, you have an alternator whose job it is to convert the mechanical energy of the engine into electricity, and then use the electricity to charge up the starting battery.
Just as important as the alternator is the isolator, which is an additional device you can connect as well, that will get powered up by the alternator and give you a steady stored supply of power to use.
The alternator can be used to charge up this secondary battery with the right connection of positive terminals and does it in a way that doesn’t drain the starting battery in the process.
The isolator does as its name suggests and isolates the battery so that it’s only being charged up when you’re driving and the engine is running, so nobody else gets harmed in the meantime.
Because you’re driving a lot anyway when you’re using your RV, it makes good sense to invest in an isolator.
Even those who prefer to live plugged in or have a quality RV setup will find it helpful and reassuring to know that if anything goes wrong, they have their deep cycle battery all powered up and ready to go, thanks to the isolator.
The Many Types of Battery Isolators
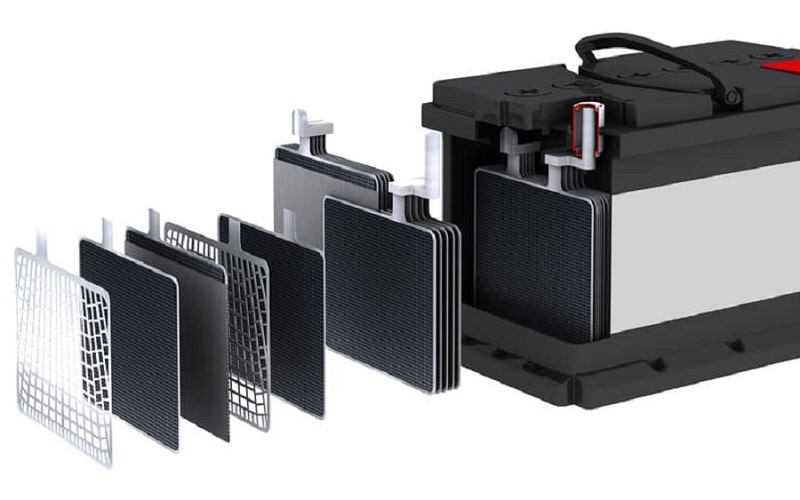
When it comes time to install the isolator in your RV, you’ll have three options to choose from. These vary in price and efficiency and each has something to offer.
However, the voltage sensing rv battery isolator is generally considered the cream of the crop because of its ease of use, although they’re also the priciest.
Solenoid isolators
A solenoid rv battery isolator works with a physical switch that closes the electrical current so it’s then directed to the auxiliary battery instead.
These are the cheapest but also the hardest to install, and they often come with problems due to their many moving parts.
Solid-state isolators
These take longer to charge your batteries and are mid-range in terms of price.
They get the job done by using electrical diodes to separate the charge so that it’s shared between the auxiliary and starting batteries, meaning less efficiency for both.
Voltage sensing isolators
These do the work for you and can sense the voltage of the starting battery. When it’s at the precise level, the isolator will cut in and redirect the alternator’s current to the auxiliary battery.
As the voltage drops back down to below 12.8V, it cuts out again so that the battery doesn’t drain.
Although the installation of an rv battery isolator is considered a relatively easy job, you still need to ask for help if you’re unsure.
Choosing the right type of rv battery isolator for your vehicle is important as is understanding how it works, so make sure you do your research before you proceed.
How to Install a Battery Isolator in Your RV
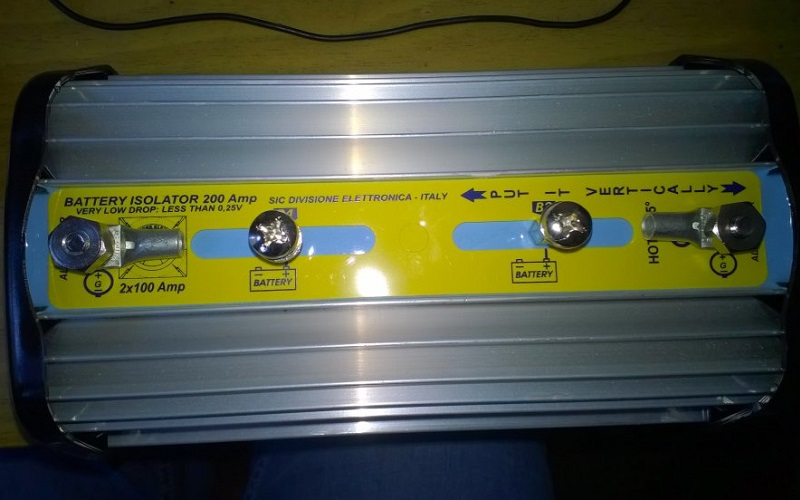
To show you how easy it is to install the right rv batter isolator, we’ve got a simple step-by-step guide that runs through how it all works.There are just a few basic tools required, most of which you’ll have if you already own an RV.
However, you should always refer to the manual that comes with the rv battery isolator you choose to ensure a safe and correct installation process and ask for professional help if needed.
- Start with the recommended safety checks and ensure you’re working in safe conditions. Disconnect the negative battery terminal so that you prevent any electrical shock or hazards from occurring while you’re working on the rv battery isolator.
- Find a safe space to mount the rv battery isolator that’s close enough to the starting battery so the two can be connected. Some products will come with mounting brackets and others require you to do this yourself.
- Crimp a blue ring terminal onto the black ground wire of the rv battery isolator and then connect this ground wire to the vehicle’s metal body.
- Cut down the cables to the required length with one smaller cable for the starting battery’s positive terminal connection and another long one for the auxiliary battery’s positive terminal. Once measured, crimp the battery terminals onto the cables and attach them to the marked position on the back of the rv battery isolator.
- Attach a circuit breaker or inline fuse to the opposite end of the short cable and then mount it on the engine. On the other end of the fuse, run a short piece of wire to the positive terminal of your starting rv battery.
- Run the long cable under the vehicle and towards the auxiliary battery, securing it as needed. Attach the opposite end of the long cable to another inline fuse or circuit breaker and then run a short cable from it to the positive terminal of the auxiliary battery, just as you did for the previous cable.
- With everything connected you can test that the engine is powering up the auxiliary battery. Use a voltmeter or multimeter to do this and look for a voltage of above 13.0 to show that it’s working.
Peace of Mind With One Simple Device
There are few bits of gear out there that can mean so much to an RV owner as the rv battery isolator, so make sure you get your hands on one before your next adventure.
An rv battery isolator is a fuss-free way to make sure you always have access to power and takes advantage of being on the road, so it’s a win-win for any on-road camping enthusiast.
Related Questions
Battery power is essential when you’re camping, and especially when you own an RV.
To make sure you always have a decent power supply and don’t have to work hard to get it, we’ve answered some commonly asked questions about RV-related batteries to give you a push in the right direction.
How Do I Know If My RV Battery Isolator Is Bad?
To test the quality of your rv battery isolator, it’s as simple as checking the voltage with the right device. If the voltage on the battery and therv battery isolator don’t match, there could be an issue.
Is A Battery Isolator Needed?
A rv battery isolator is recommended if you own an RV, camper, or any type of vehicle where you sit for long periods without the engine running and don’t want the battery to drain while charging up another power supply.
Can You Run Two Batteries on One Alternator?
It is possible to run two batteries at the same time on a single alternator as they’re designed to register this as a single rv battery isolator anyway.
The batteries will be able to self-regulate how much current intake they receive, and the alternator will be working separately to ensure it isn’t being drained excessively.
Resources:

