There’s nothing worse than being left high and dry when your RV runs out of steam, and if you’ve tried all other options, the generator might be your only hope. Using a generator to bring life back to your RV isn’t the most ideal option, but it can be the only one sometimes, so you need to know how to get it right.
Learning how to charge RV battery with generator is one of the basics that all RV owners should know, as it can help you out of a tight spot in emergencies. As most RVs preferred to be powered by the vehicle’s alternator or with DC power connected to an electrical outlet, these are your best choices, but they’re not always possible.
So, how to charge RV battery with generator? To get the job done, you’ll need a camping generator with a 12V output and the right cables and enough time to charge your RV. You likely won’t get a full charge from a generator, but it may be sufficient to get you to the next possible charging situation.
This guide can walk you through every step of the way and teach you how to charge your RV with a generator. Although not the preferred method of keeping your vehicle powered up, it’s an essential skill to have if you own one, and an easy way to get to your next charging destination.
What Do You Need to Charge an RV Battery With a Generator?
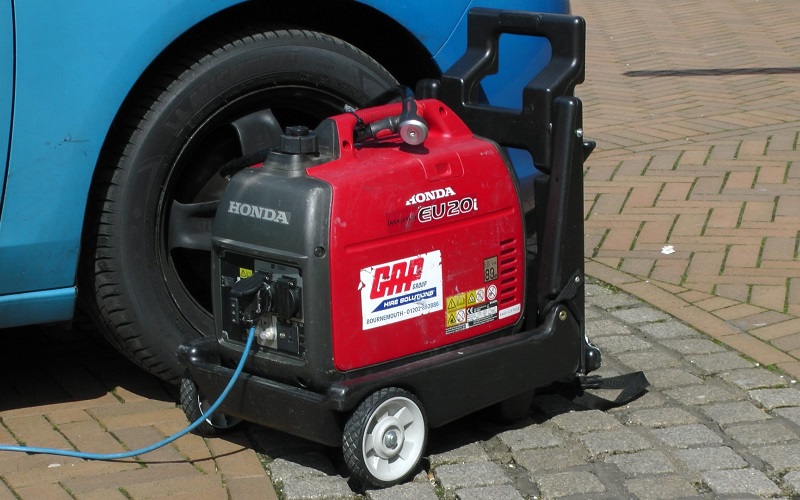
If you plan on charging your RV battery with a generator, having the right generator will be the key to your success, and it’s important not to skimp on this purchase.
Choosing the generator is not just for when you need to do an emergency charge of your RV, but to keep all of your other electronics and appliances humming along as well, so when you’re decking out your RV and its accessories, it’s a crucial step.
Generators come with a rated output which is the wattage that it provides, but although they claim to be around 1000 watts, you can usually expect them to be slightly under in terms of continuous output power. You’ll need a good quality RV battery charger made specifically for this, with at least 1000 watts of power to get this job done.
Secondly, you’ll need a battery charger that connects the generator to the RV. This should be either a 240 volt or 120-volt generator that will run from the AC output to your RV. Having this direct source of power will ensure the battery is charged faster, so aim for something at least 30 to 40Amps.
Choosing a cheaper or inefficient battery charger isn’t recommended either, as these can do more harm than good. Unless designed for powering up larger batteries like those of an RV, you might find they damage it and won’t be able to withstand over-voltage charging, so this is another purchase not to skimp on.
How Long Does the Process Take?
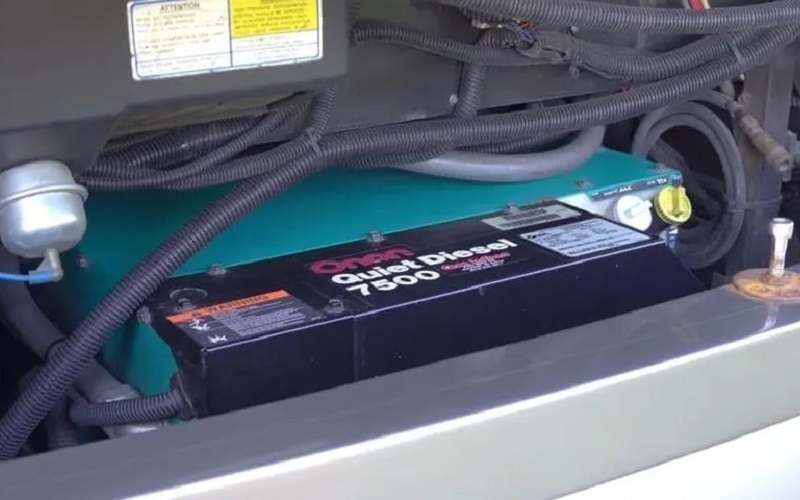
The length of time to charge an RV battery with a generator will depend on a few factors, so there’s no set number that everyone can go by. Consider these things when trying to calculate how long you’ll be waiting for your battery’s power to be renewed.
- Discharge level: The current discharge percentage of the battery will impact how long it takes to recharge, with some requiring less than others.
- Output of generator: The power output rate of the generator will make a huge impact on how much it provides to an RV battery, so the lower the output the longer it will take.
- Charging voltage: Each battery will come with a maximum charging voltage to be followed and this determines how much power you can supply to it to get the job done without overcharging it.
Step-By-Step Guide to Charge RV Battery With Generator
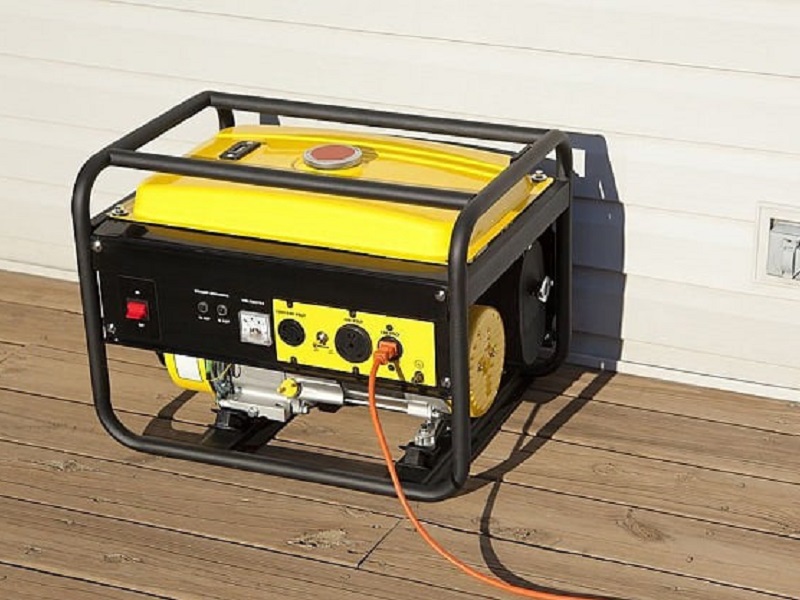
When you’re in a jam and the only way to charge your RV battery is with a generator, never fear. It’s an easy process that doesn’t take a lot of know-how to set up, but you will need to be patient with charging time, depending on the gear you’re working with.
- Ensure the generator is fully charged and turn on the emergency brake mode of the RV. Switch off the battery and the generator before starting.
- Check the battery terminal for damage or debris, and clean it if necessary. You’ll need to remove all of the cables to do this, starting with the negative and then the positive. If the debris is built up, you can use a small amount of baking soda and water to scrub it off. Clean and dry thoroughly before moving on.
- Check the fluid or electrolyte level of the battery and if it’s low, fill it with distilled water.
- Attach the cables to the battery terminal starting with the positive cable, and then the adjacent negative cable. Double-check to see that everything has been securely fastened.
- Unplug all appliances or electrical instruments that are connected to the battery and generator. Connect the RV battery to the generator using the AC output to begin charging. Depending on its current discharge level, this can take a few hours, and it’s common for the battery not to reach 100% using this method.
Charging Over the Mains
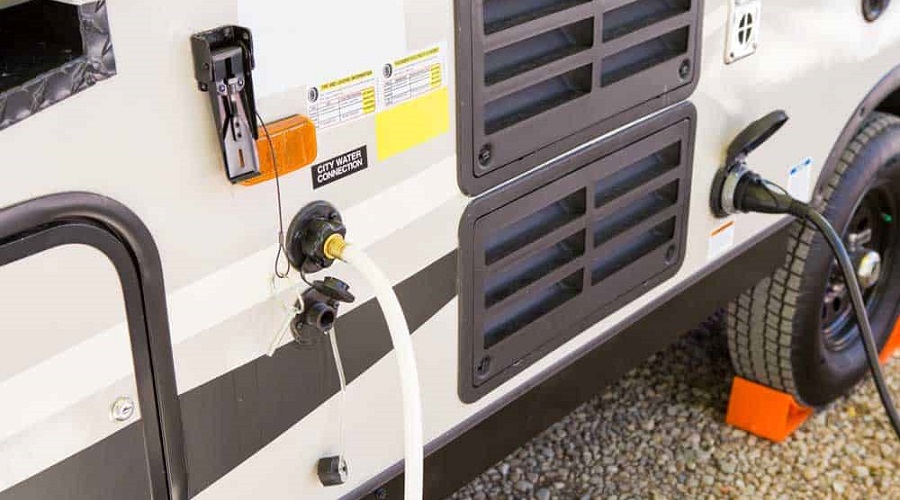
The preferred method for charging an RV battery is to use mains power, which is the power supply found when you pull up at a park or campsite that has an electrical hook-up. These usually consist of a 240-volt system that enables you to power up the larger appliances in your RV like the fridge, TV, and air conditioner.
When you’re staying at one of these sites and your RV is connected, it’s getting a constant supply of power, sometimes referred to as ‘shore power’.
You’re using this to run electronics and also charge the battery back to its fullest state so that as you move on from there, you’ll have a supply on hand, which can be helpful if you plan on boondocking or dry camping with no power hook-up.
Other Methods for Charging an RV Battery
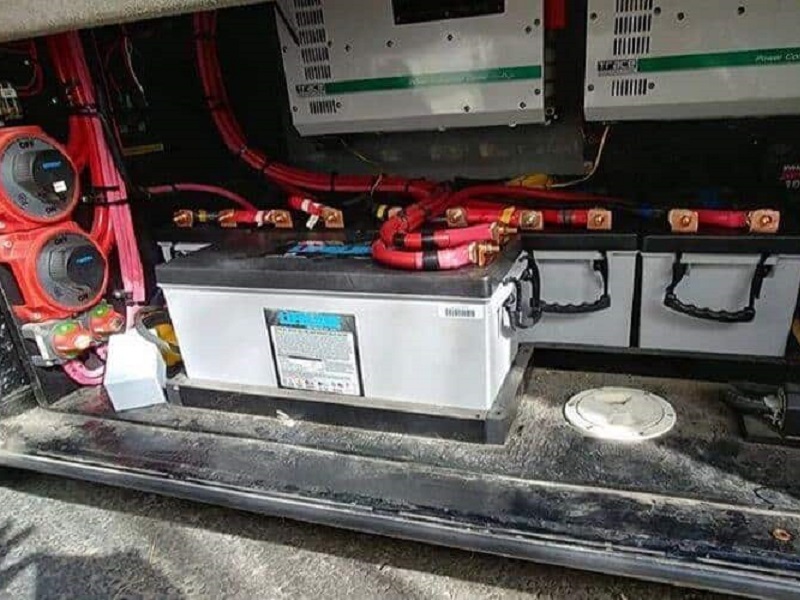
A smart RV owner should have more than one option up their sleeve for charging their vehicle’s battery, so it’s good to be prepared. These are some of the other methods you can rely on to give the battery a boost and keep you powered up for longer.
- Jumper cables: Used in an emergency, it might be possible to get a small amount of power using this method.
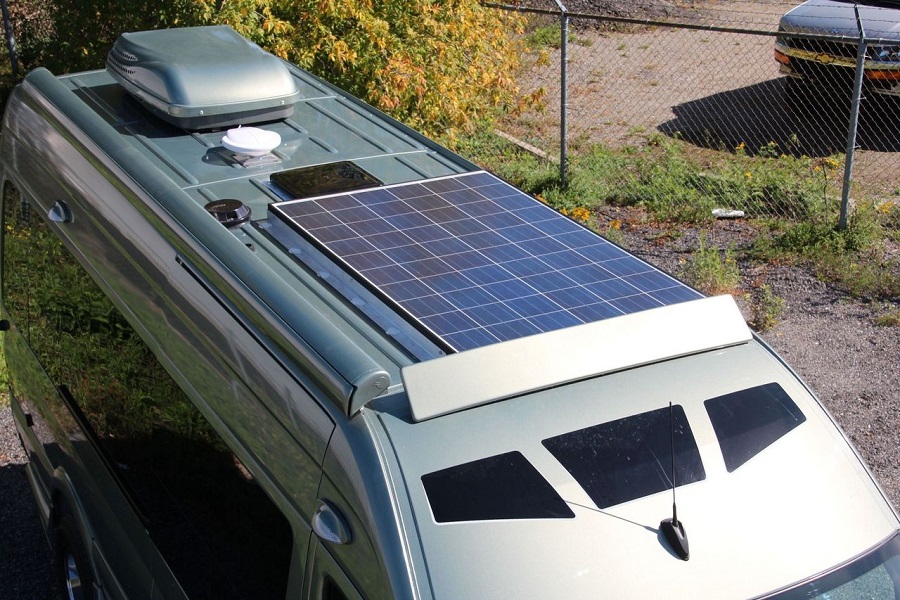
- Solar power: Solar panels can be assembled to gain energy which is fed through a power back and connected to the RV battery.
- Chargers: There are a few types of battery chargers you can use, including trickle and float, each designed to provide energy to the battery at a steady rate. Depending on how much energy you need and how fast you need it, either might be suitable.
Related Questions
The power supply of your RV is one of the most important facets of it, as, without power, it won’t be able to run your appliances and electronics.
When it comes to keeping an RV charged up though, there’s a lot to learn, so check out the answers to these commonly asked questions about your camper’s power.
How Do I Charge My Boondocking Battery?
One of the most common uses for an RV battery is while boondocking, as this practice means you’re without access to hookups like electricity and water.
To charge your RV battery for boondocking, the most effective method is to attach it to a power outlet that has a sufficient power amp connection. Other methods include solar power, wind turbines, generators, and powering it up through the RV itself while you drive.
Should I Disconnect the RV Battery While It’s Plugged In?
If you’re staying at a powered site, you should keep the RV battery plugged in at all times without fear of doing any damage.
The only time you’ll need to disconnect the battery or turn them off is when the RV is not in use and being stored, as this ensures the batteries won’t be overcharged or wear down over time.
Should I Leave My RV Plugged in All the Time?
When you’re traveling in your RV and visiting a powered site, it’s best to leave it connected to the power outlet the entire time in most cases.
This keeps you with a steady supply of electricity and won’t lead to overcharging. For longer stays, you might want to disconnect now and then, but for short-term visits, it’s okay to be connected 24/7.
Resources:

